

How to Get the Dreamy Look When Editing Photos
Photoshop is a powerful tool for transforming ordinary images into stunning works of art. One of the most sought-after effects in photo editing is the dreamy, ethereal look that can make your photos appear surreal and captivating. This is called The Orton Effect was developed by Canadian photographer, Michael Orton. It adds a soft glow to photos and is usually applied when editing landscape photography. Originally, the effect was achieved by sandwiching a few pieces of film together. In this tutorial, we'll walk you through the process of adding a dreamy effect to your photos using Photoshop. Whether you're an experienced photographer or a beginner, you can easily achieve this enchanting look with just a few simple steps.
Step 1: Open Your Image
Begin by opening the image you want to apply the dreamy effect to in Adobe Photoshop. Go to "File" and then "Open" to select your image.
Step 2: Duplicate the Background Layer
Before making any edits, it's essential to create a duplicate of the background layer. This ensures that you can always refer back to the original image if needed. Right-click on the background layer in the Layers panel and select "Duplicate Layer."

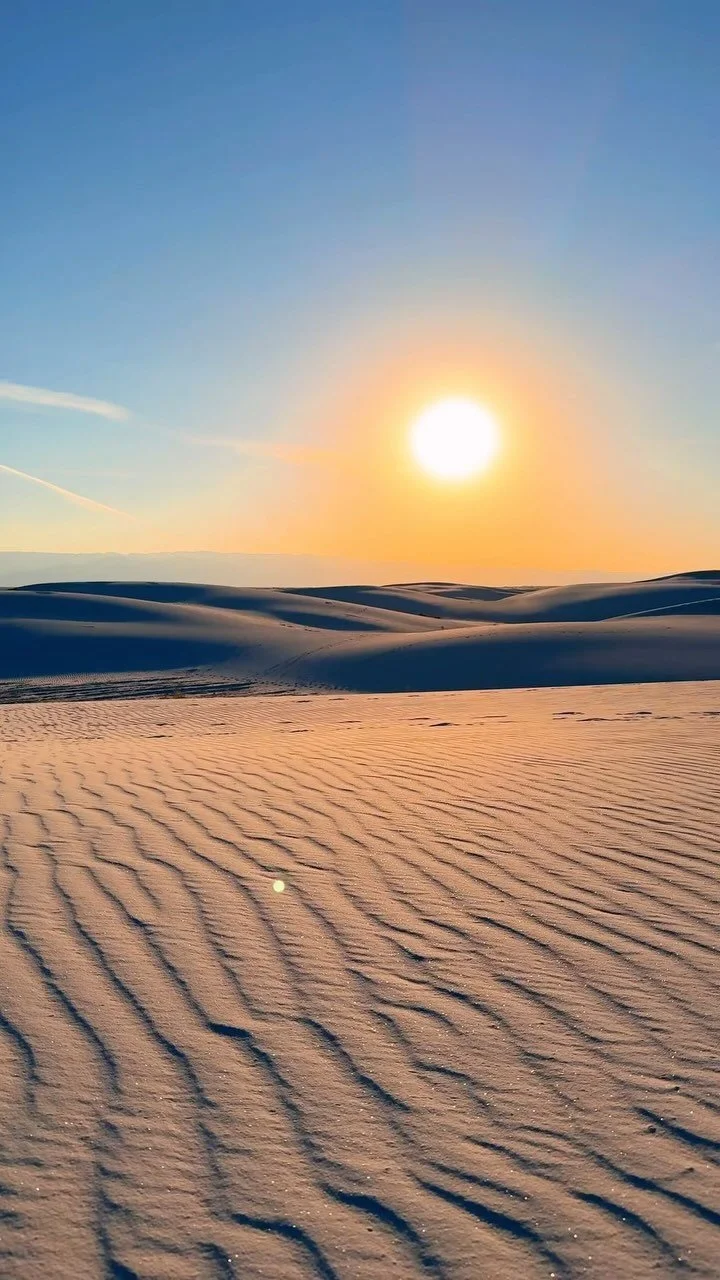
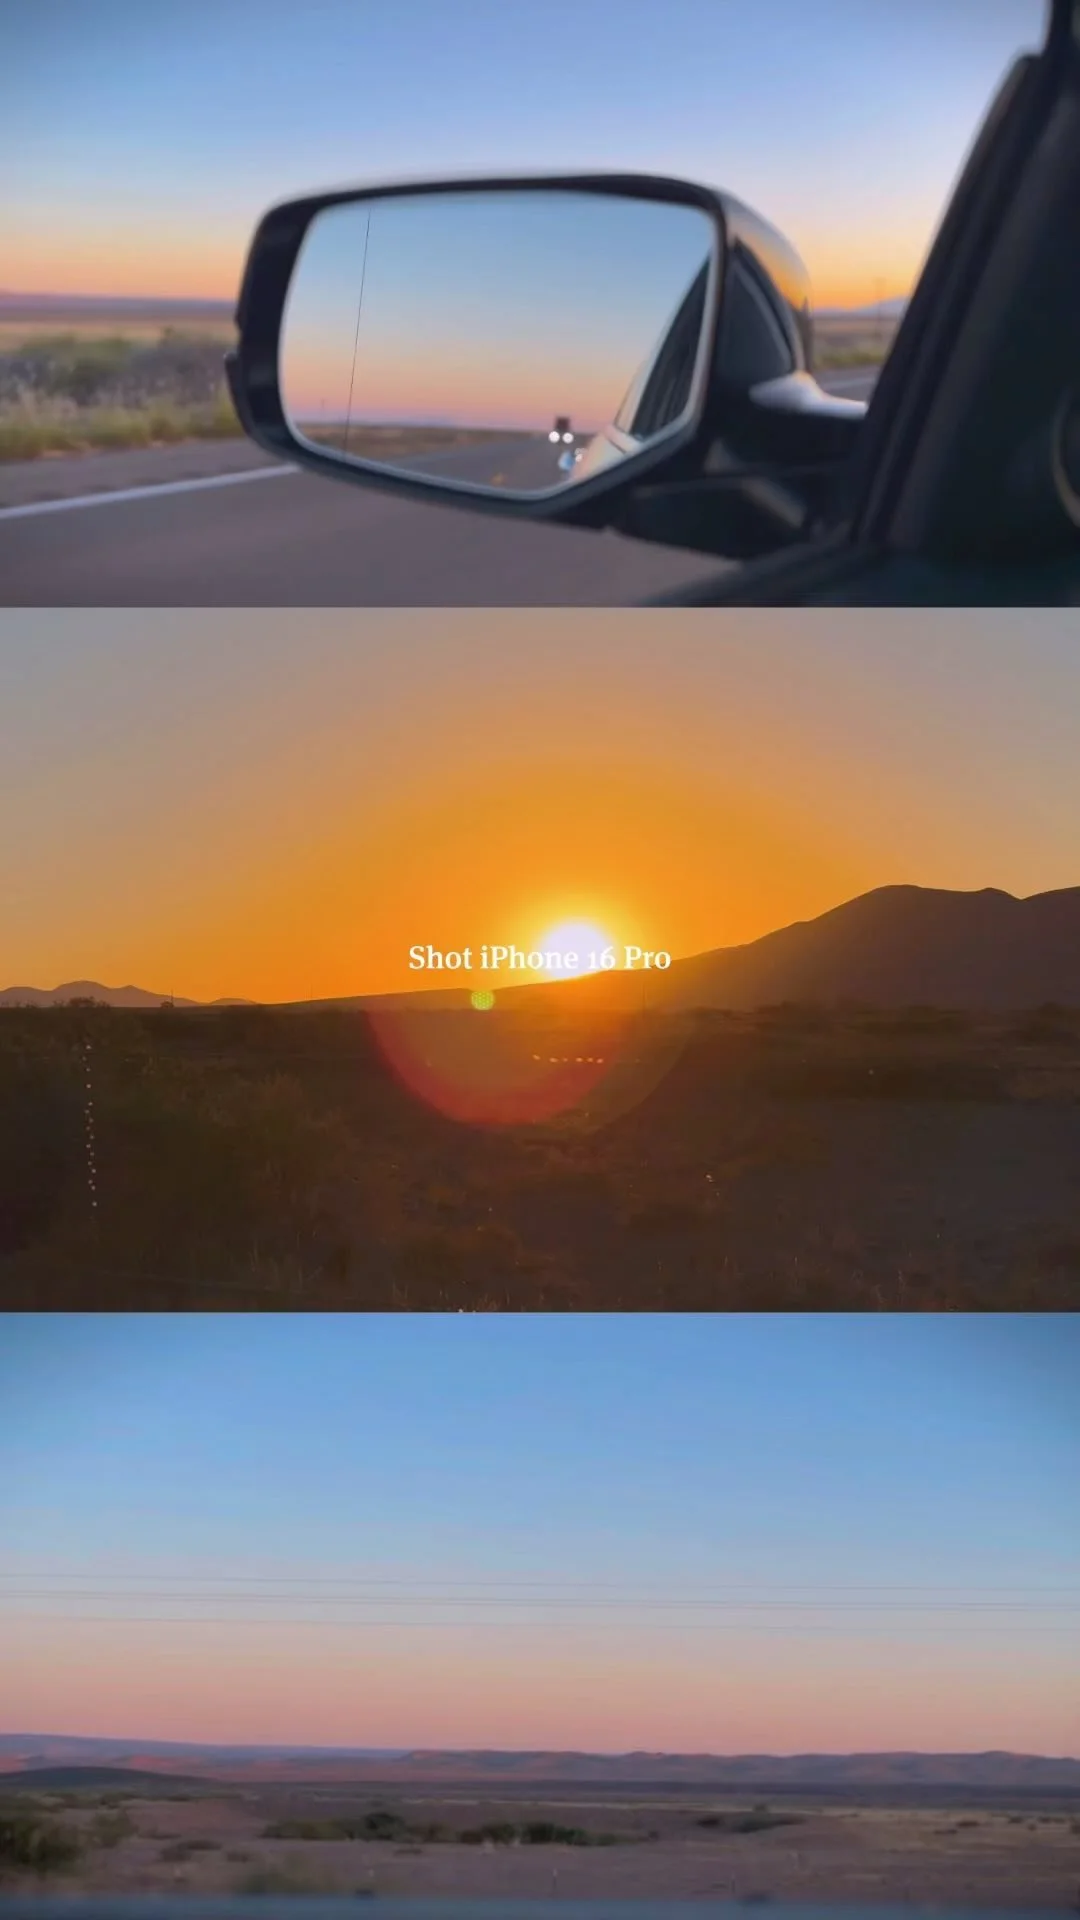
Image by: Dan Costa
Step 3: Apply a Gaussian Blur
To achieve the dreamy effect, we'll start by adding a Gaussian Blur. Go to "Filter" > "Blur" > "Gaussian Blur." A dialog box will appear, allowing you to adjust the radius of the blur. The ideal radius will depend on the resolution of your image and the desired level of dreaminess. Usually, a radius between 5 and 20 pixels works well. Experiment with different values until you achieve the desired softness.
Step 4: Adjust the Opacity
Reducing the opacity of the duplicated layer can help blend the blurred layer with the original image. In the Layers panel, adjust the opacity slider to your liking. A range between 20% and 60% is a good starting point, but feel free to experiment until you achieve the perfect balance of dreaminess.

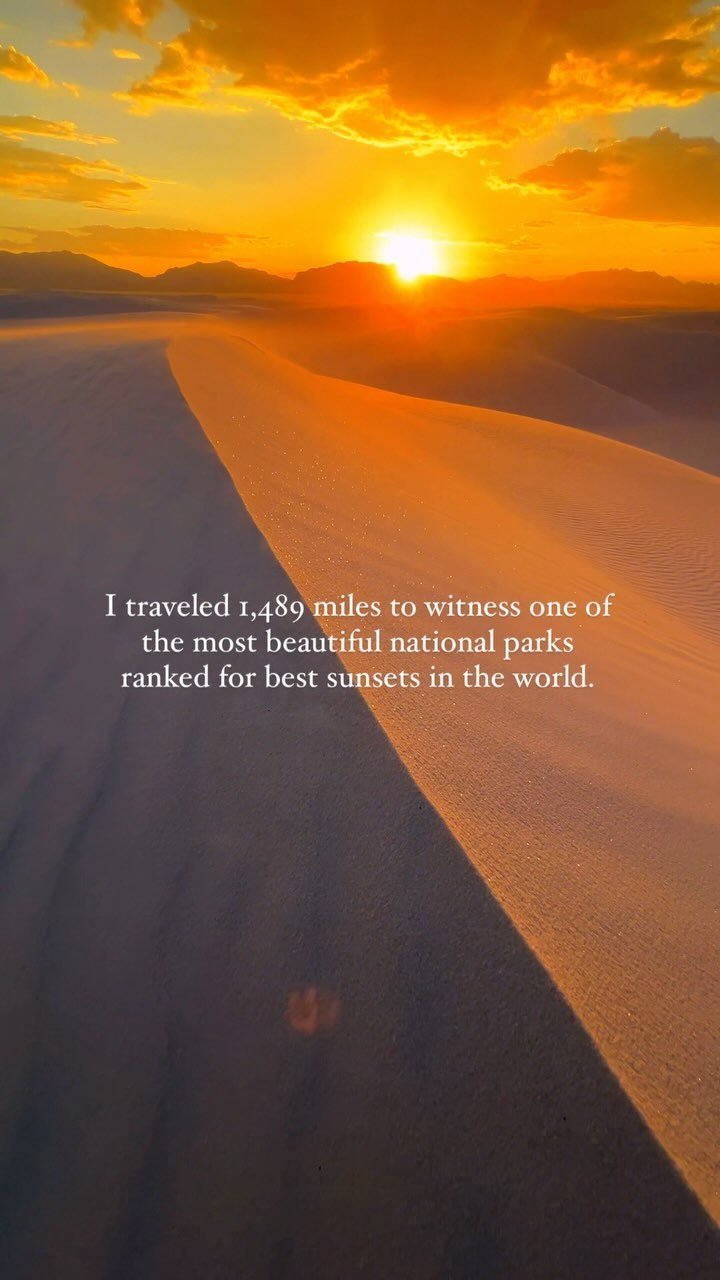
There’s a finite amount of blur added to the image to give it a dreamy look. Image by: Dan Costa

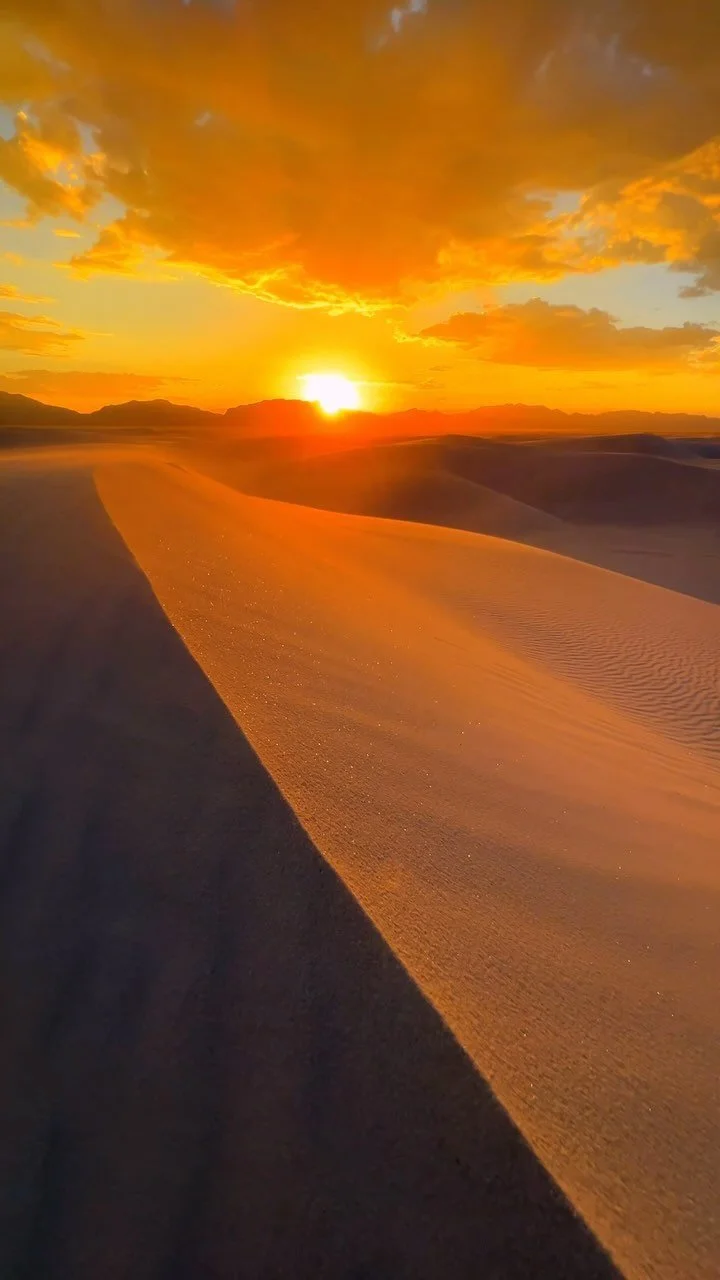
Gaussian blur is different than a standard blur by softening the image a bit more. Image by: Dan Costa
Step 5: Create a New Adjustment Layer
Next, we'll enhance the dreamy effect with a color adjustment. Click on the "Create New Fill or Adjustment Layer" icon at the bottom of the Layers panel and select "Gradient Map."
Step 6: Choose Dreamy Colors
In the Gradient Map properties, you can create a custom gradient by double-clicking on the gradient bar. A gradient editor will appear. Here, you can choose soft, dreamy colors by clicking on the color stops and adjusting their colors and positions. Pastel tones, light blues, and pinks work well for a dreamy look. You can add more color stops to fine-tune the gradient.

Author: Dan Costa
Hey I’m Dan, a passionate travel photographer on a relentless quest to capture the world's beauty one frame at a time. With a deep love for exploring new cultures and landscapes, I've embarked on countless adventures across the world armed with my camera and an unquenchable thirst for unique moments. Through my lens, I aim to tell compelling stories, evoke emotions, and inspire wanderlust in others. Join me on this visual journey as we explore the world's wonders together! Keep Creating! 📸
Step 7: Adjust the Blending Mode
Change the blending mode of the Gradient Map layer to "Soft Light" or "Overlay." This will help blend the dreamy colors with your photo while preserving the underlying details.
Step 8: Refine the Effect
To further refine the dreamy effect, consider adding other adjustments like Curves, Levels, or Saturation to fine-tune the contrast, brightness, and color balance. Experiment with these settings until you achieve the desired look.
Step 9: Final Touches
Finish by adding any additional effects or textures to enhance the dreamy atmosphere of your photo. This could include adding soft vignettes, bokeh overlays, or even adding a soft focus effect to certain areas of the image.
Step 10: Save Your Work
Once you're satisfied with the dreamy effect, save your image in your preferred format, such as JPEG or PNG.
Overall…
With Adobe Photoshop, you have the power to turn ordinary photos into dreamy, enchanting works of art. By applying Gaussian Blur, adjusting layer opacity, and adding a gradient map, you can transform your photos into captivating dreamscapes. Remember that practice and experimentation are key to mastering this technique. So, grab your camera and start creating your dreamy photo masterpieces today!
Related Posts
But Wait There’s More!
Thanks for hanging out! Hopefully, the read was enjoyable and full of cool tips. Got questions or want to share some thoughts? Drop a comment below. Don’t forget to subscribe to the newsletter for the latest updates and exclusive content. For those seeking a professional travel photographer or creative services, connect and follow on social media to stay inspired and see the latest work.
Keep Creating! 📸
making friends world wide

Looking for the perfect travel tripod? Our top recommendation is ideal for any photographer, offering stability, lightweight design, and ease of use. Enhance your photography with this reliable and versatile tripod, perfect for capturing stunning shots on the go.